Notebook · Hardware
A card reader you could not buy.
From a thought by a lake to a device on the wall: sketch, Blender, 3D print, sanding and paint, aluminium plate, firmware. And the app that clocks in with it.
Start
The idea came in the mountains.
No brief, no screen. I was out walking, forest, mountains, a lake below. That is where I drew the sketch: a flat box for cable and electronics, and on the lid a landscape like the one in front of me. The footage from up there and the sheet with the sketch are here.
Model
From paper into Blender.
The housing is not built in CAD but in Blender, that is where I feel at home. The sketch gets rebuilt edge by edge until radii and fit are right. The videos show two pencil lines turning into a body.
Structure
Four parts, four jobs.
The device is not a block, it is a stack. Scrolling pulls it apart.
- 01
Aluminium plate
Cut to size, sits in the lid. The film comes off last.
- 02
Lid
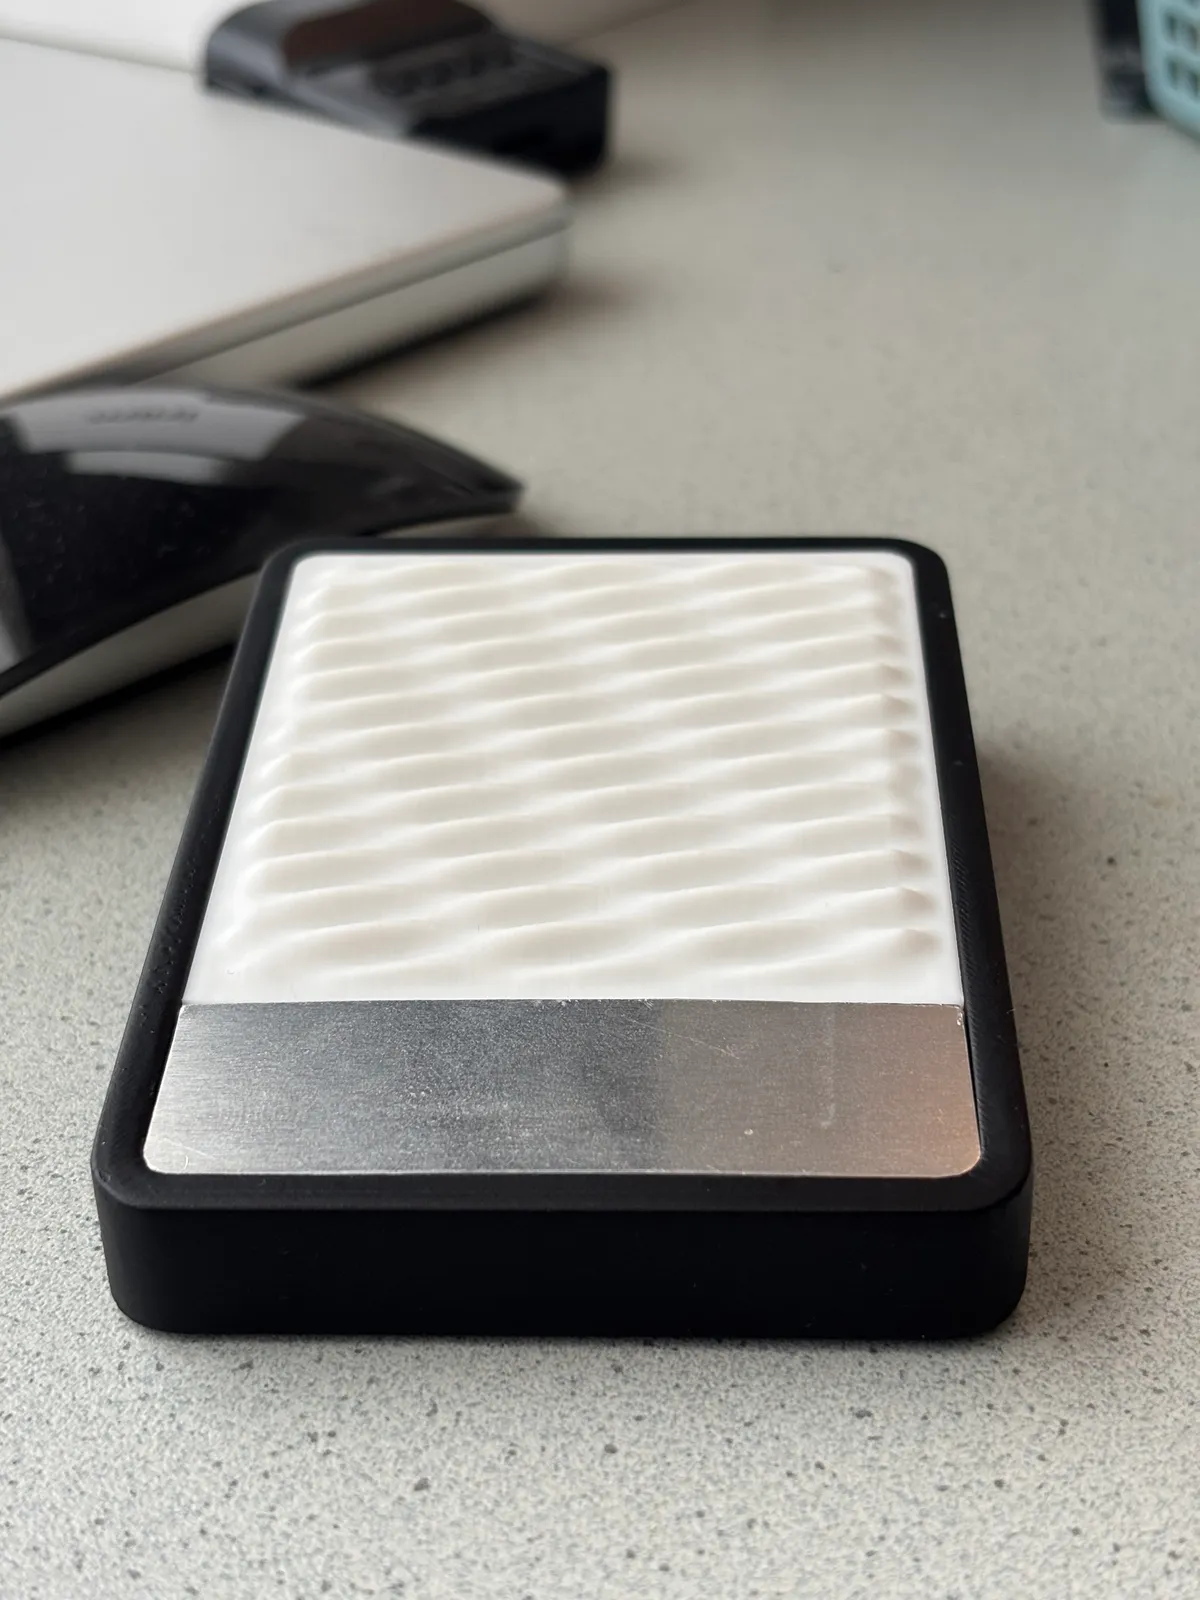
Plastic, carries the landscape from the sketch. Surface and technique fit together here.
- 03
Frame
The part you see. Hence the most demanding paint, with the notches in it.
- 04
Base
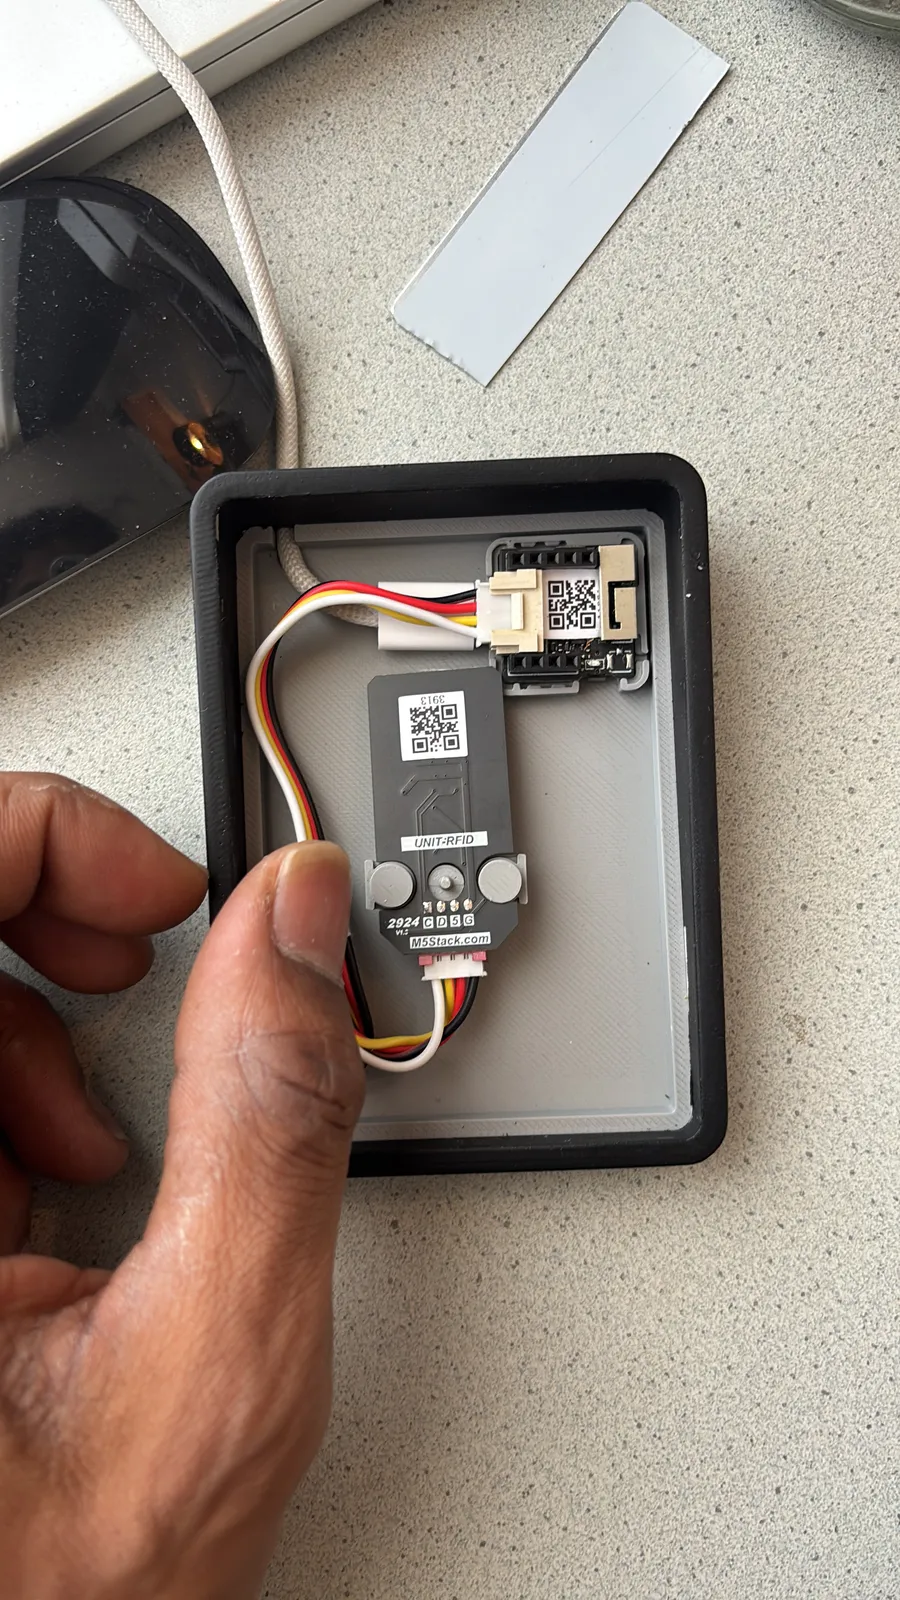
Cable management and the seats for the two boards.
- Scrolling pulls the parts apart
Tool
The add-on that came out of it.
Modelling the landscape on the lid by hand was too slow for me. So I wrote a Blender add-on: drag a landscape onto a surface, add a logo, done. It also places the notches and cable holders every housing needs. One device turned into a tool for the next ones.
Surface
Print, sand, paint. Repeat.
Out of the printer comes a blank with layer lines. Then sanding, filler, primer, automotive paint, sanding again, paint again. The frame gets the most work because it is what you see. Tap through the rounds or drag the handle between raw and finished.
Round 1 / 5 · Raw from the printer
Assembly
Everything in its place.
Print the base, seat the two boards, route the cable, put frame and lid on. The aluminium plate for the lid is cut to size, its protective film stays on until the very last step. Peel it off, and the thing is done.
Firmware
The code that reports the card.
Inside sits a small controller with a reader module, running firmware I wrote myself: read the card, report it to the server, keep itself up to date. Here I show how I program it and how the device is used day to day.
In the shop
Tap the card, done.
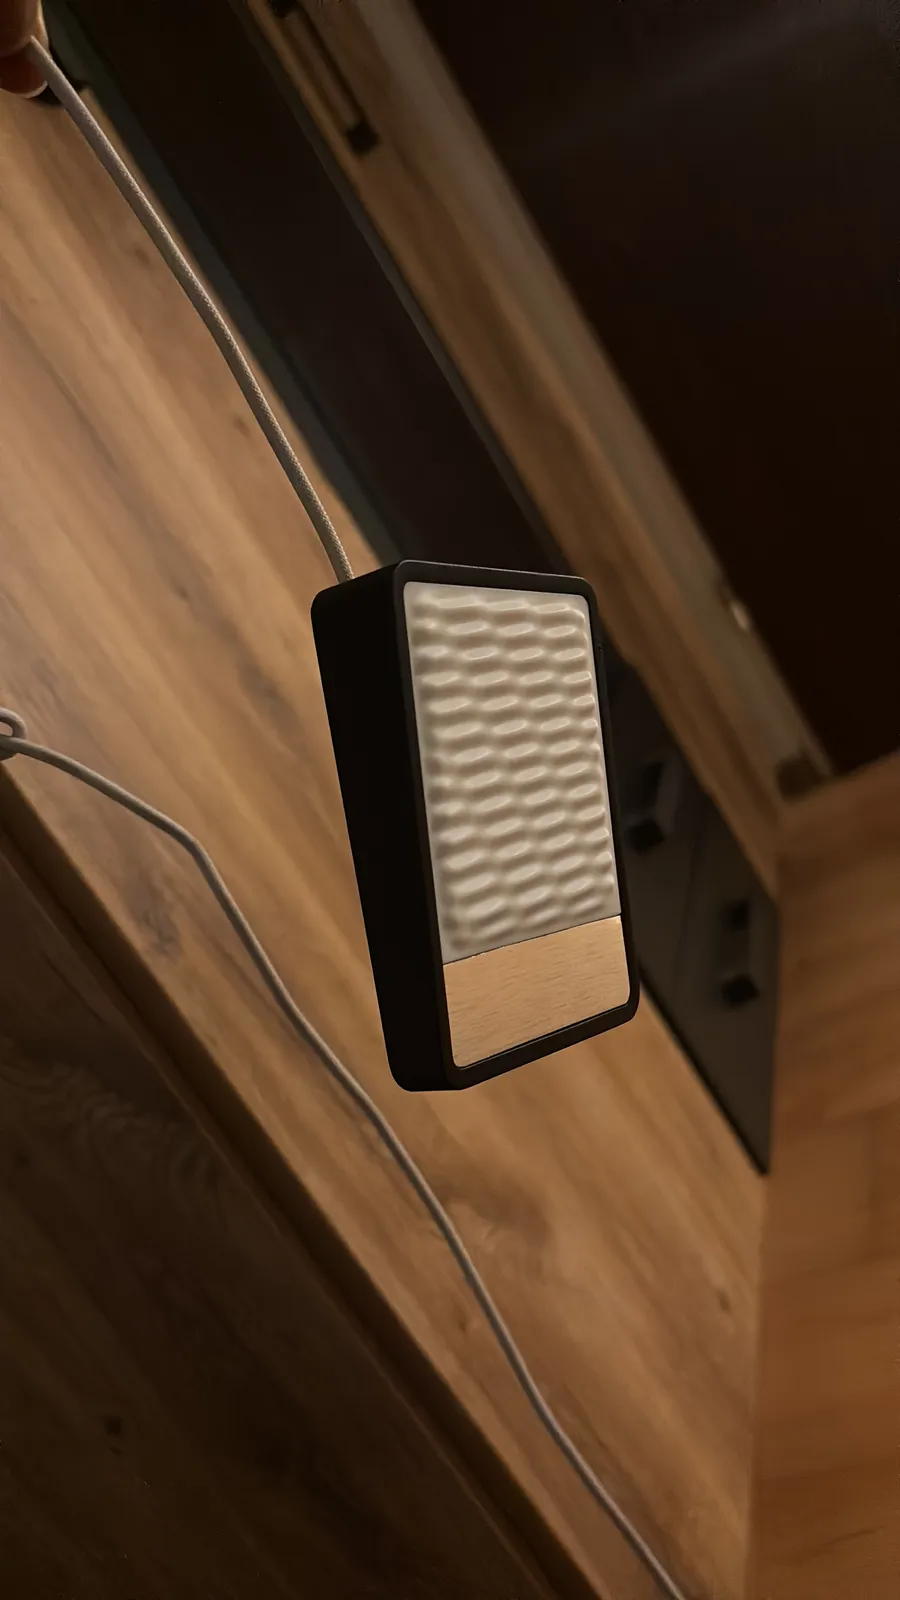
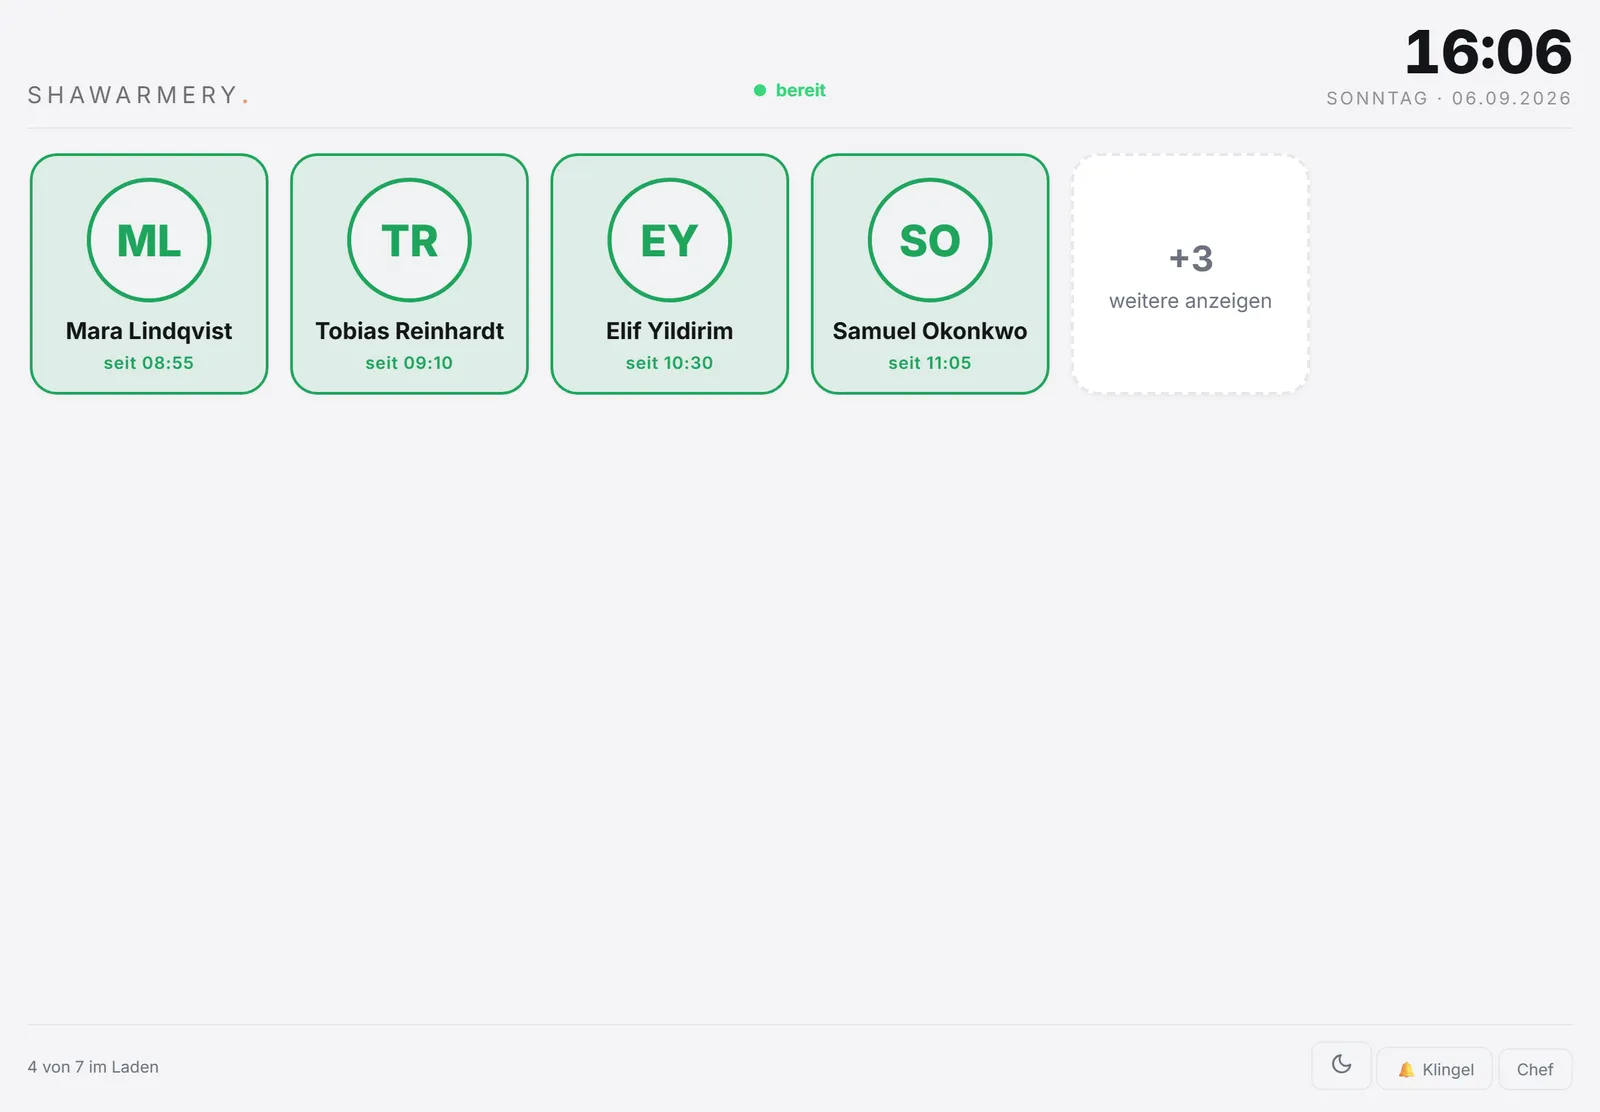
The reader hangs next to the iPad at the till. Card on, and the time clock instantly shows the name and one big button. On its own the device would be a pretty case, the app behind it makes it time tracking for two shops. Try it here: drag the card onto the reader.
Drag the card onto the reader
4.11.2026
…


The app behind it
Time clock with NFC
Tap the card, name and hours appear on the iPad at once, one button confirms. The owner sees both shops live. Without this app the reader would just be a case.
- Two shops
- Around 19 staff
- Real time at the terminal
- Own firmware, own server
The two projects
Device and app belong together. Both are projects of their own, reachable right here.

All footage
The whole way in pictures and video.
Everything that came out of the build, in order by stage. Tap opens the large view, videos play with sound.
The idea
Design & print
Assembly
Finished and in use
Part 3 of 4 · Built myself
Tools I built for myself, and how to use them.
- 1Crown&Paste: why I built my own iPhone keyboard
- 2A cookie banner you won't want to click away
- 3A DIY NFC reader: from a Blender model to a device on the wall
- 4Google Takeout: how to download your data and uploads
What this is about
Keep reading
- Google Takeout: how to download your data and uploads
Guide
Google Takeout gets your data back out of Google: photos, emails, Drive and your own YouTube Music uploads. Step by step, using my old songs as the example.

Tool
A cookie banner you won't want to click away
Cookie banners are annoying, and everyone clicks them away unread. Mine is a small game. Now you can have it on your site too: free, with your logos in a little town.
Tool
Crown&Paste: why I built my own iPhone keyboard
I copy logins, links and codes back and forth on my phone all the time, often late at night. The iPhone only remembers one of them. So I built a keyboard that remembers everything.